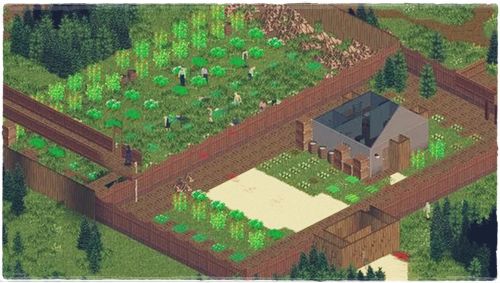
Food is essential to survival in Project Zomboid, so we’d like to share with you a guide on growing your own vegetables. After all, you can wander in search of food for a long time, or you can make your own vegetable garden to make your life easier.
Main points about the farming in Project Zomboid

The problem with climbing houses in search of food and resources is that sooner or later you will run out of both. Plus, food often spoils and becomes unsafe to consume.
A player can get food in the game by farming, fishing, and hunting. The first method isn’t as easy as it sounds. However, if you understand the basics and learn how to grow food, you will have good results. And then you will be able to combine the grown food with other findings and prepare great dishes.
The farming game is well thought out to the smallest details – you won’t have specific information about the plants with zero skill level. You’ll have to guess their status at random. But as you gain experience, you will get more and more information about your crops, which will make your work much easier.
One more point: you can get farming experience only for successful harvesting and nothing else.
Next, we’ll break down the basic steps on how to get started in farming.
Step 1 – Preparing the materials
To get started, you will need these things:
- A garden scoop;
- Seeds for planting;
- A container for water.
There are also additional tools that will make your work much easier. These include: a container to collect rainwater, fencing, a shovel and bag, a watering can, a garden sprayer, cigarettes to create a spray against Aphids, a milk carton to create a spray against Powdery mildew, and fertilizer.
Step 2 – Preparations for planting
After you have found a good location for the beds, you need to ensure that zombies can’t get to them. Plants need sunlight, so a ground surface bounded by walls or a roof surface with some soil will do.
Start creating seedbeds. To do this, take a trowel, click on the area where the beds will be and select “Dig”. Your seedbeds are ready to be sown.
Step 3 – Sowing
To start planting, you need to put the seed packet in your inventory and open it. You should also have enough water, as each seedling requires 50 units of water.
To sow, you just click on the seedbed and select “Sow Seeds “. If you click again on the bed and select “Info”, you will see how watered your plants are. Next, water the seedlings immediately and do so until the status changes to “Well Watered.”
Done! You’ve done well and the plants are already growing. But they need good care and that’s what the next step is about.
Step 4 – Taking care of the plants
Plants must always be watered in order to have a successful harvest. To accomplish this, water them every day if it isn’t raining. You can also use water containers so that you always have water on hand.
Remember that each plant goes through the following steps:
- seedling;
- young;
- mature;
- ready to be harvested;
- seedlinging.
But you can also use fertilizer to speed up the growth.
And lastly, don’t forget about zombies and plant diseases. Check status and general information to keep everything under control.
Now you know enough about farming in the game to successfully make your vegetable garden. Well, we wish you the best of luck with it!